

No beach? No pool? No problem! Explore different ways to cool off this summer with water art-making activities that don’t require floaties or a vest.
Water takes on many forms during the summer. For some, summer means cooling off by swimming, playing in sprinklers, or simply drinking enough water to stay hydrated. Water moves in different ways with the museum’s collection, too. We have paintings of crashing waves (Torrey, Surf), abstracted landscapes of ponds (Thomas, Pond-Spring Awakening), and even works whose movement reminds us how water can flow from here to there (Frankenthaler, Wisdom).
On this family day, let’s imagine with water. Below you’ll find 3 creative prompts for you and your family. Share your creations and tag us @akronartmuseum. Happy creating!

Video: Elliot Torrey’s Surf-Inspired Fizzy Ice Cube Painting
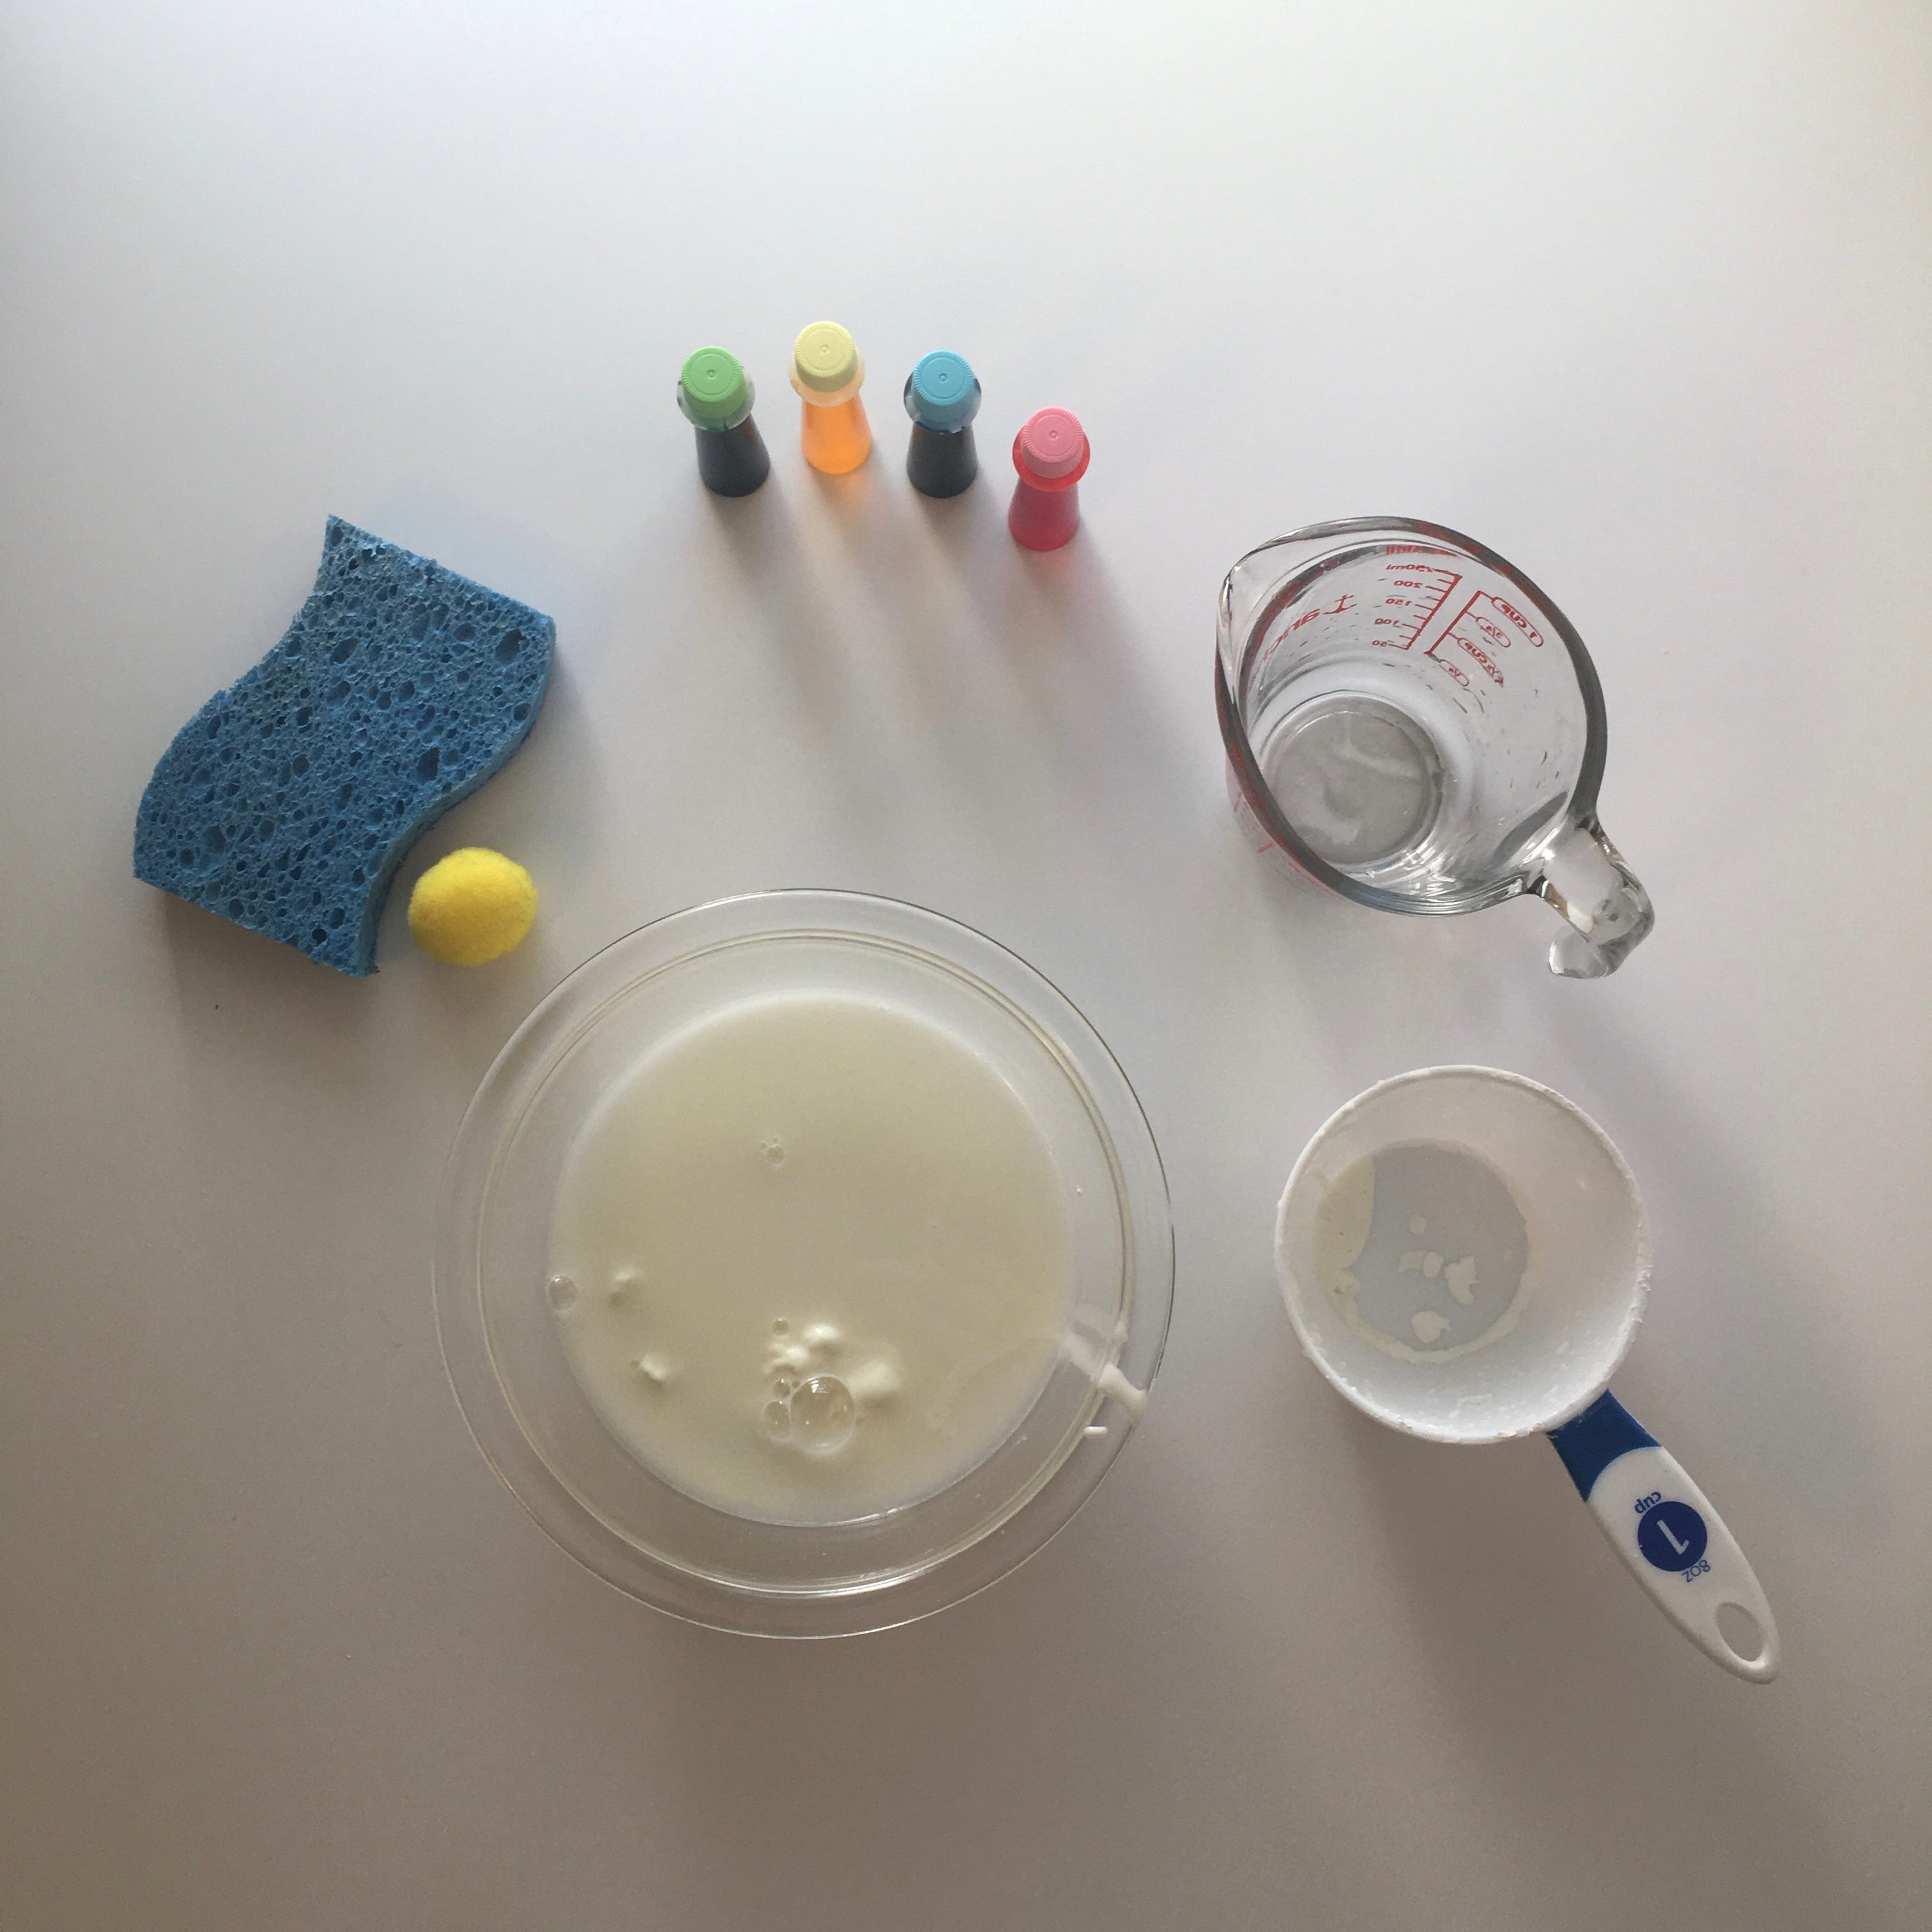
Do you know the foam that happens from waves crashing in on a beach or even the sudsy bubbles in a bath? Vinegar and baking soda can cause the same sort-of fizziness! These ice cubes are magical when you add vinegar and a touch of experimentation.
Materials:
1 c. Baking Soda
1/2 c. Water
Food coloring
Ice cube tray
Vinegar
Mix the baking soda and water together. Pour and distribute this mixture into your ice cube tray. Add the food coloring to each individual cube mold- the more colors the better, right? Mix in the food coloring. Make sure you get the bottom of the mold! Place in the freezer. Once frozen and out of the tray, pour/spray/drip vinegar onto your colorful ice cubes. Watch as they fizz and make that sound, too!
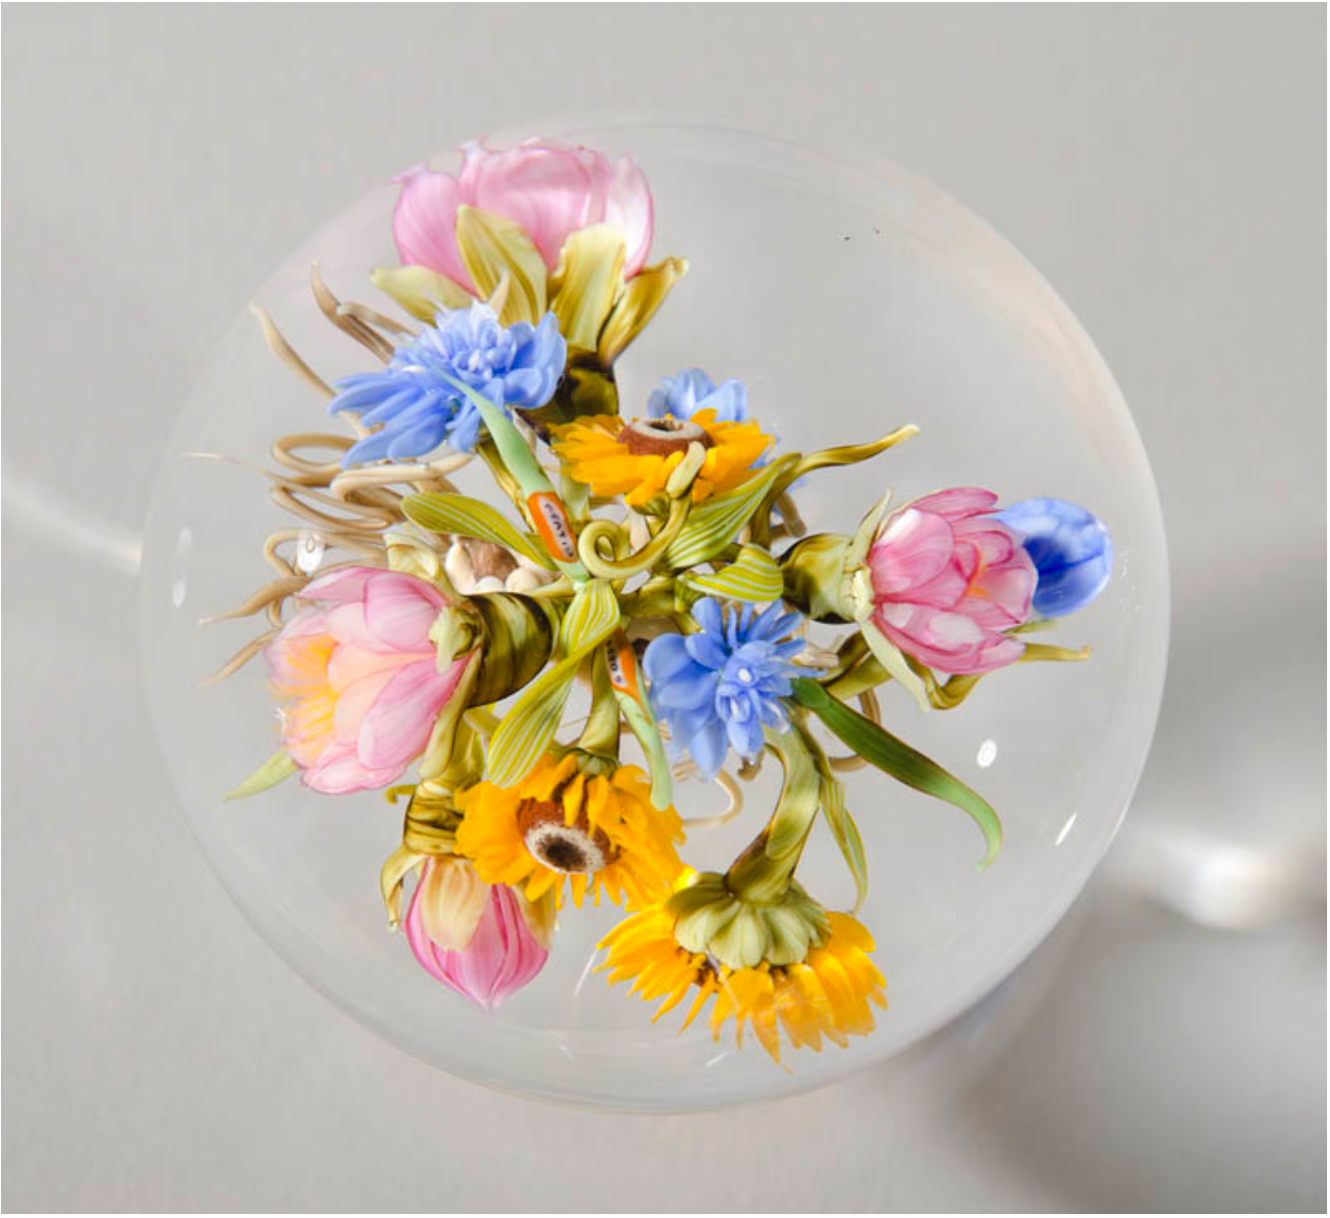
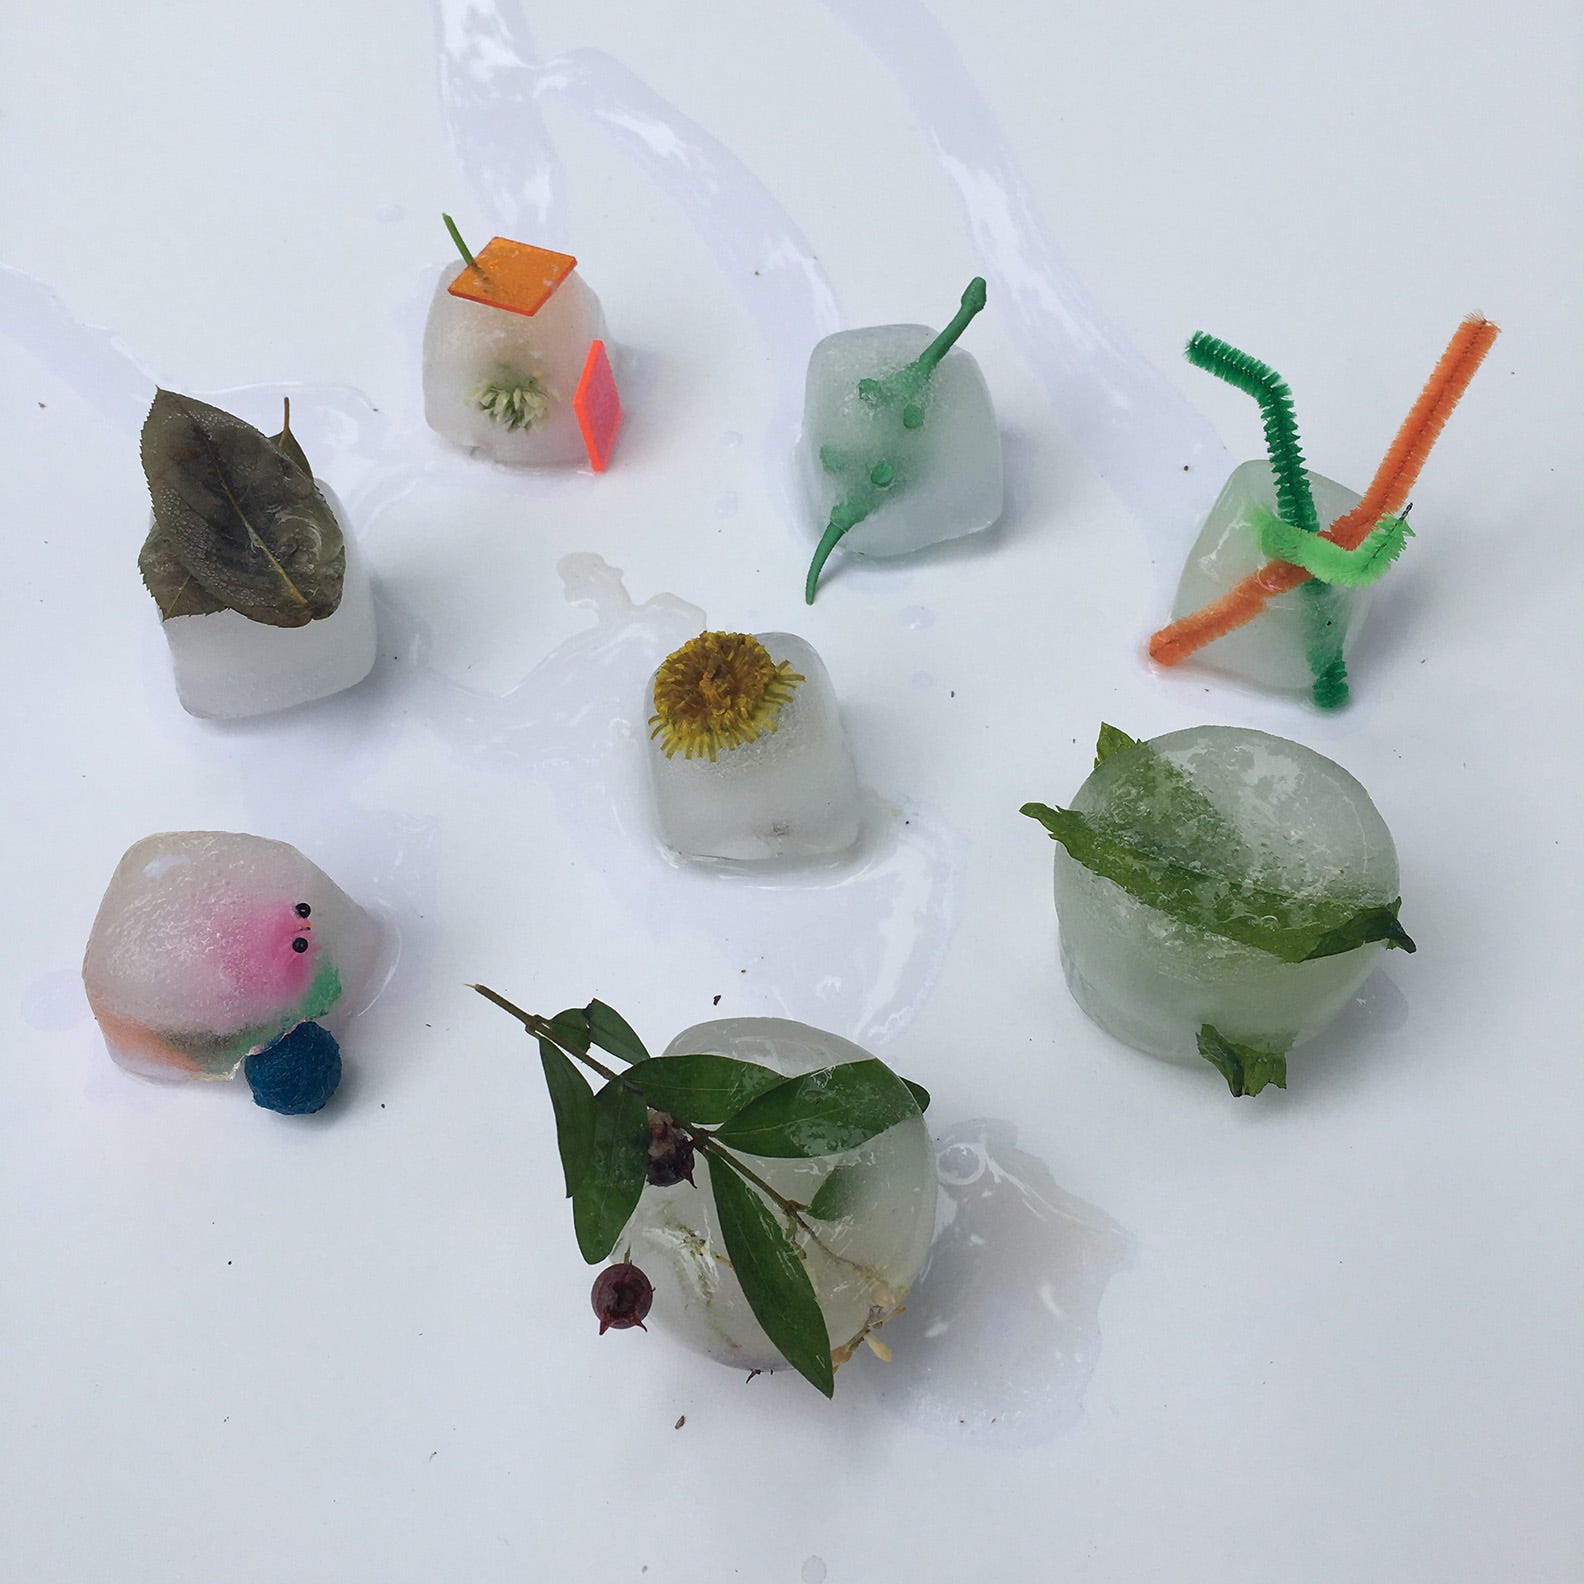
Photos: Paul Stankard-Inspired Ice Cube Creations
Need a way to cool-off but only have limited materials? These ice cube creations are two-fold: fun for now and for later. Create mini designs within an ice tray, let them freeze, and experiment! Will you put your creation in your drink? Watch it melt on the sidewalk? See it dissolve in a bowl of water?
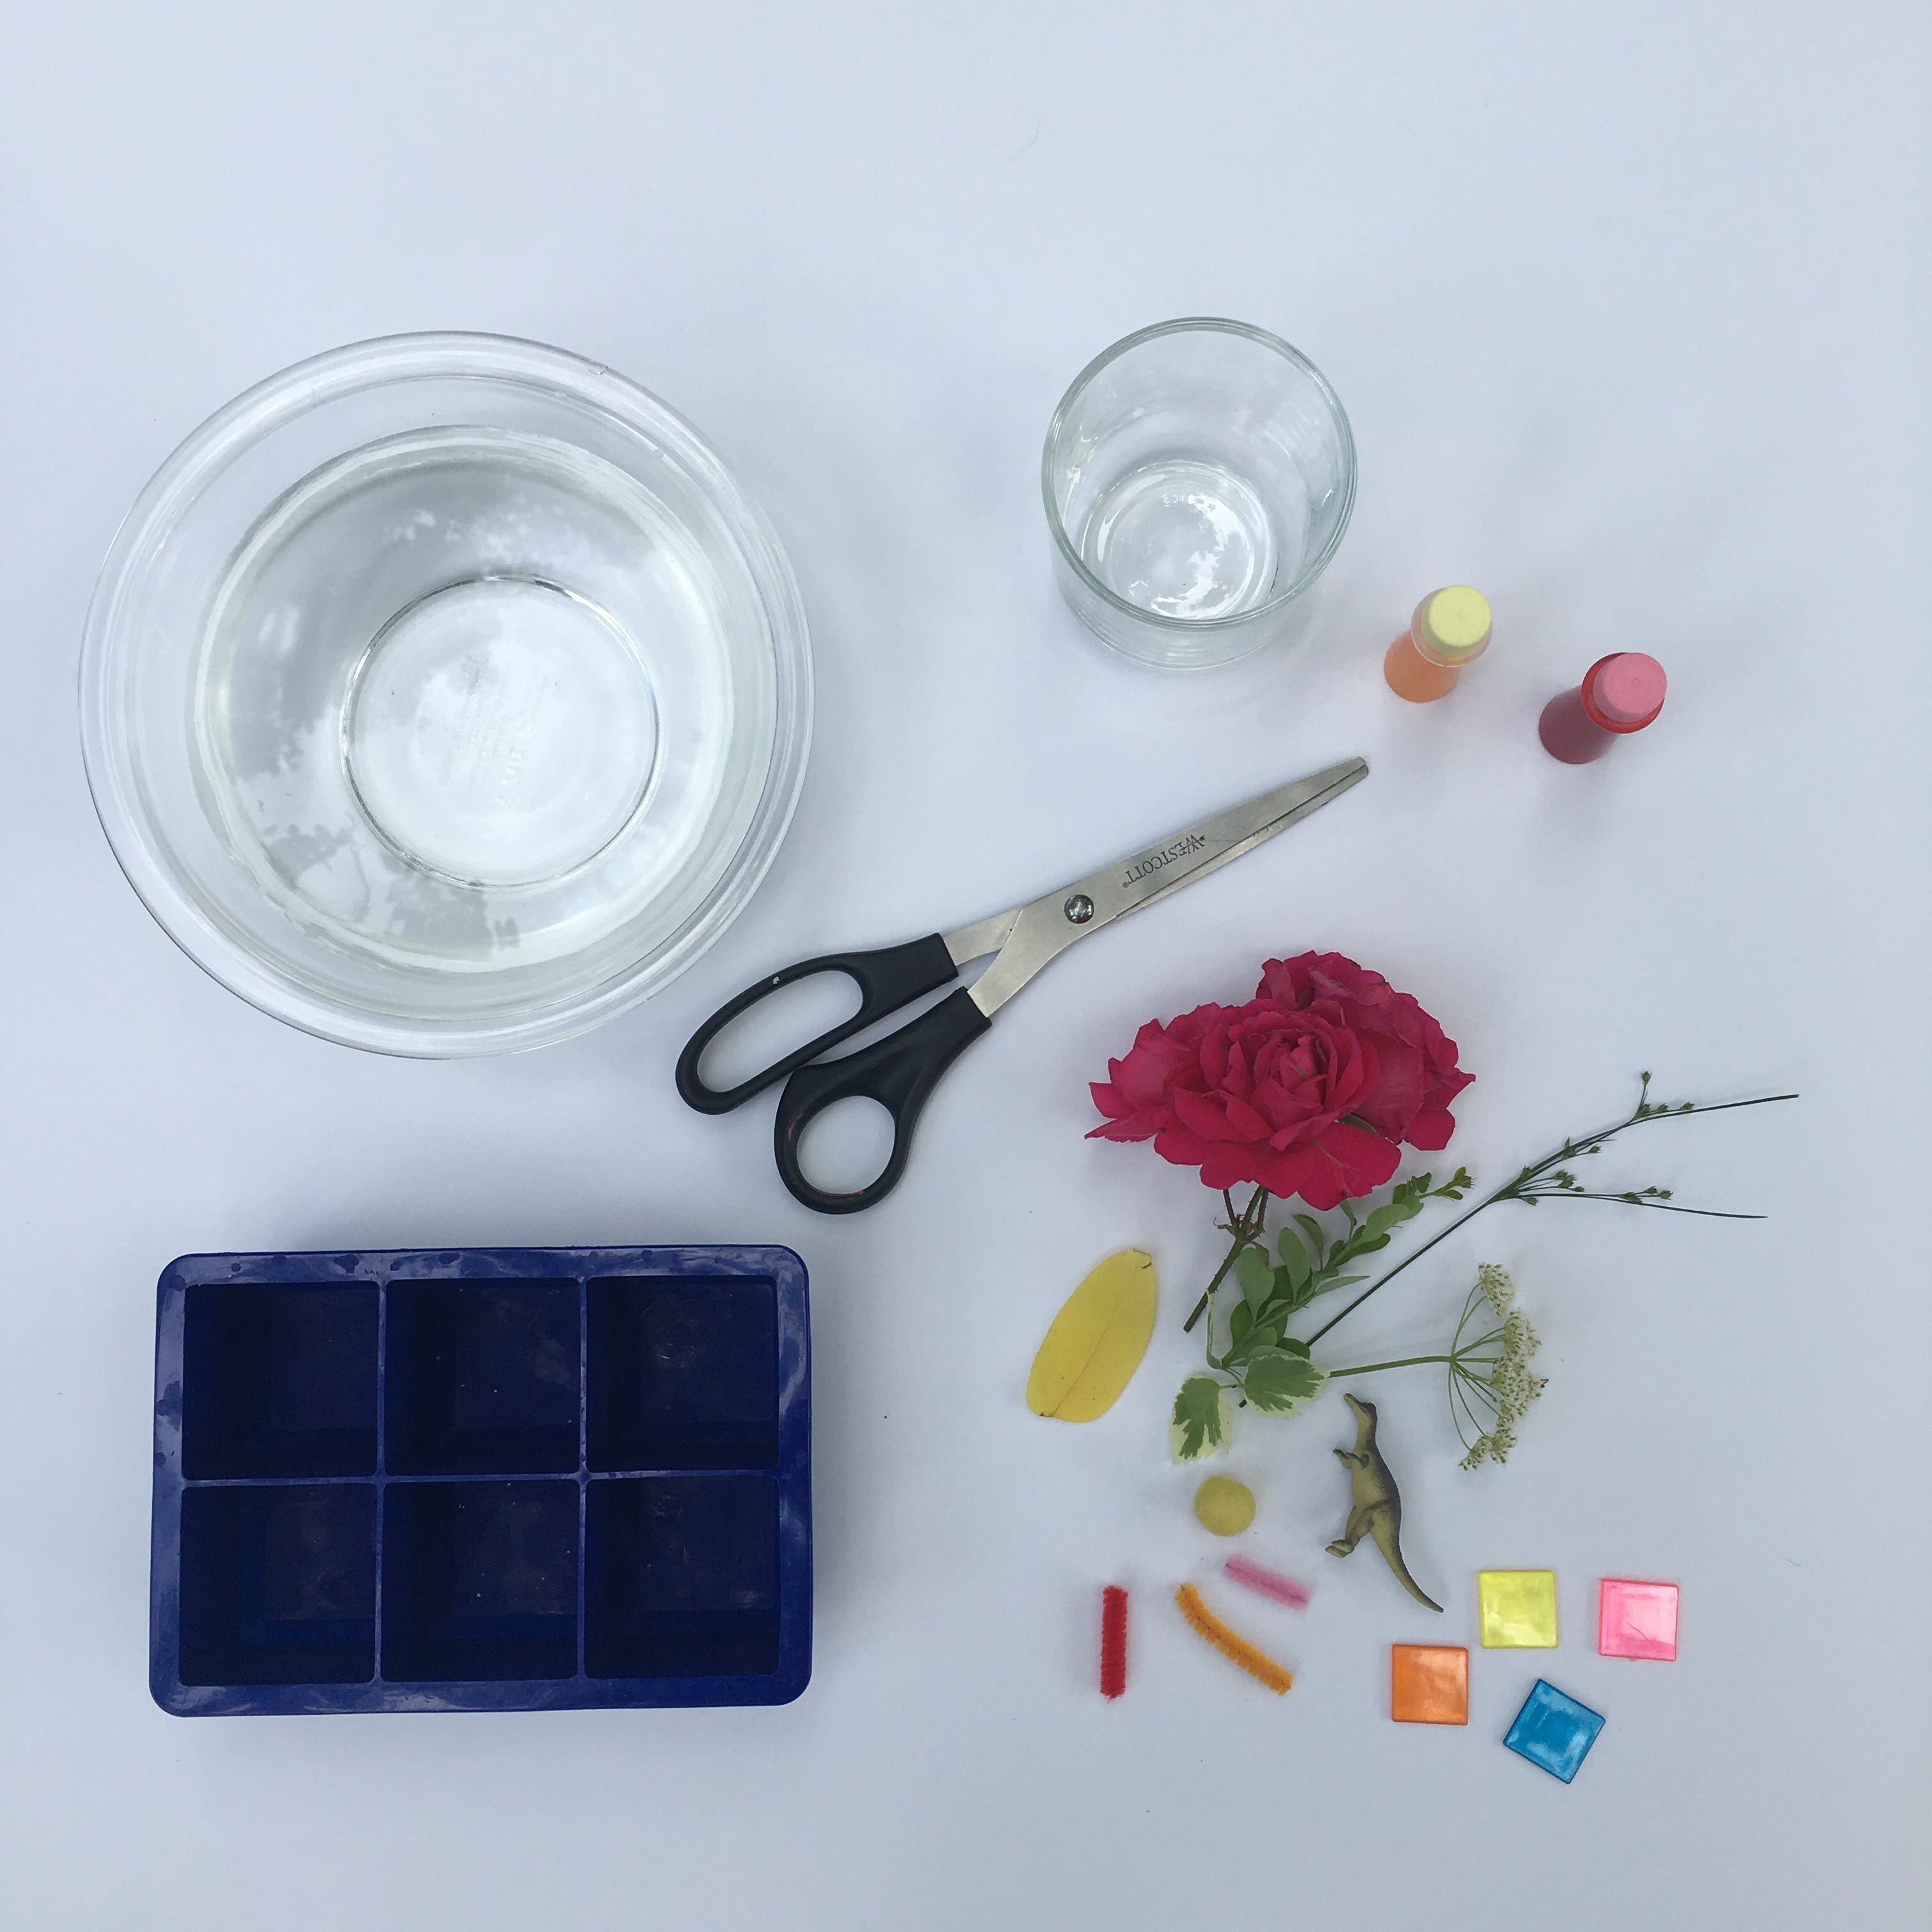
Materials:
Water
Ice cube tray
Small items or objects
First gather various items, like mini figures, small flowers or plant-life, rocks, beads, anything that you want to see in an ice cube.
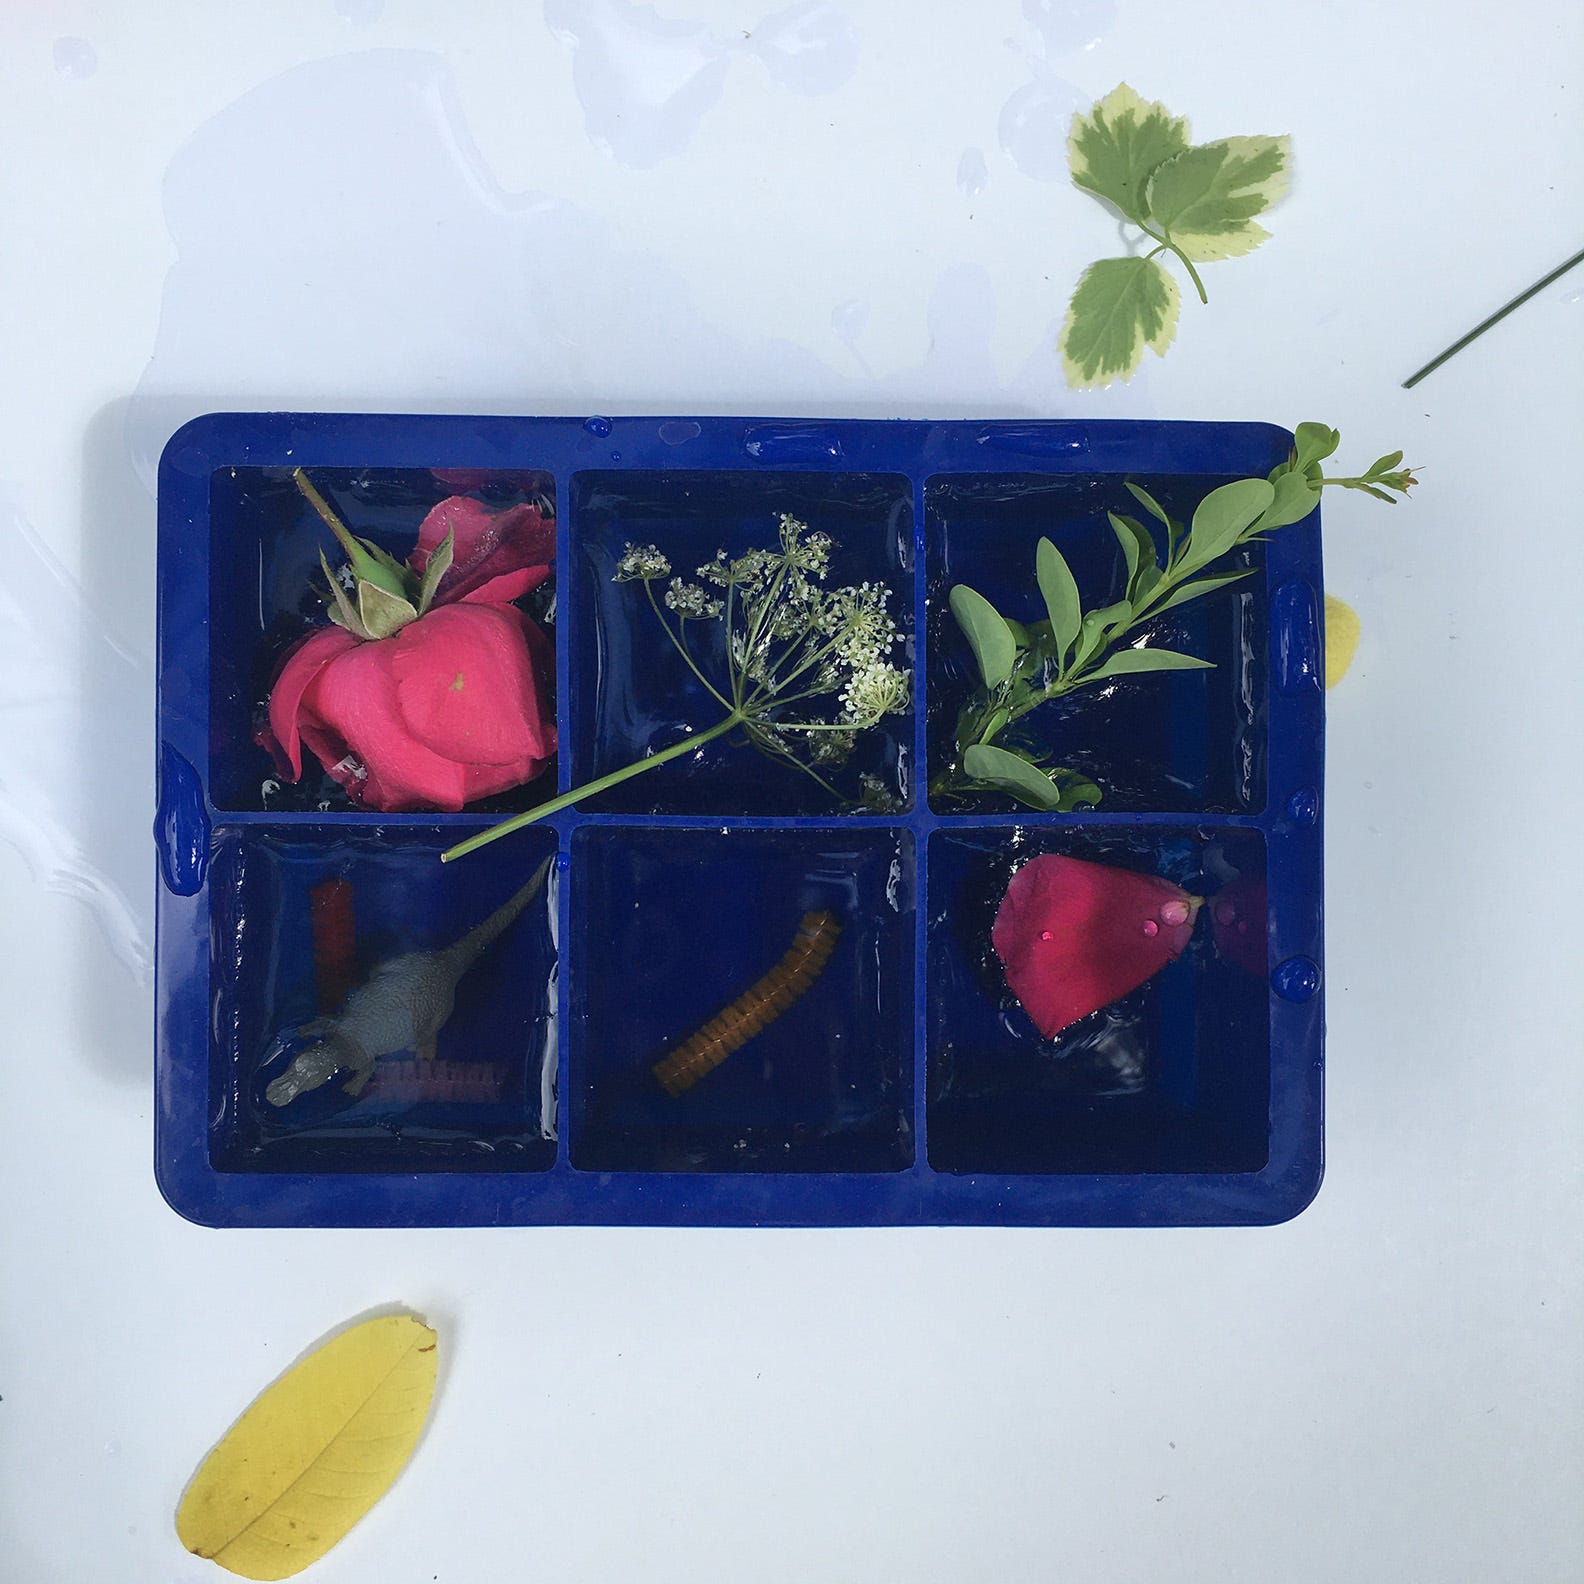
Now, you can either fill the tray with water then put in your items or put your items in and let the water decide the composition!
If you want to be extra patience and experimental, you can fill the tray with a small amount of water and some items, let that freeze some, then add more water & items, freeze and keep repeating.
Now is the time for patience. Place your tray carefully in the freezer to freeze. Check back on them in a few hours. When they are ready, get them out of the tray. Examine their beauty & watch them melt!

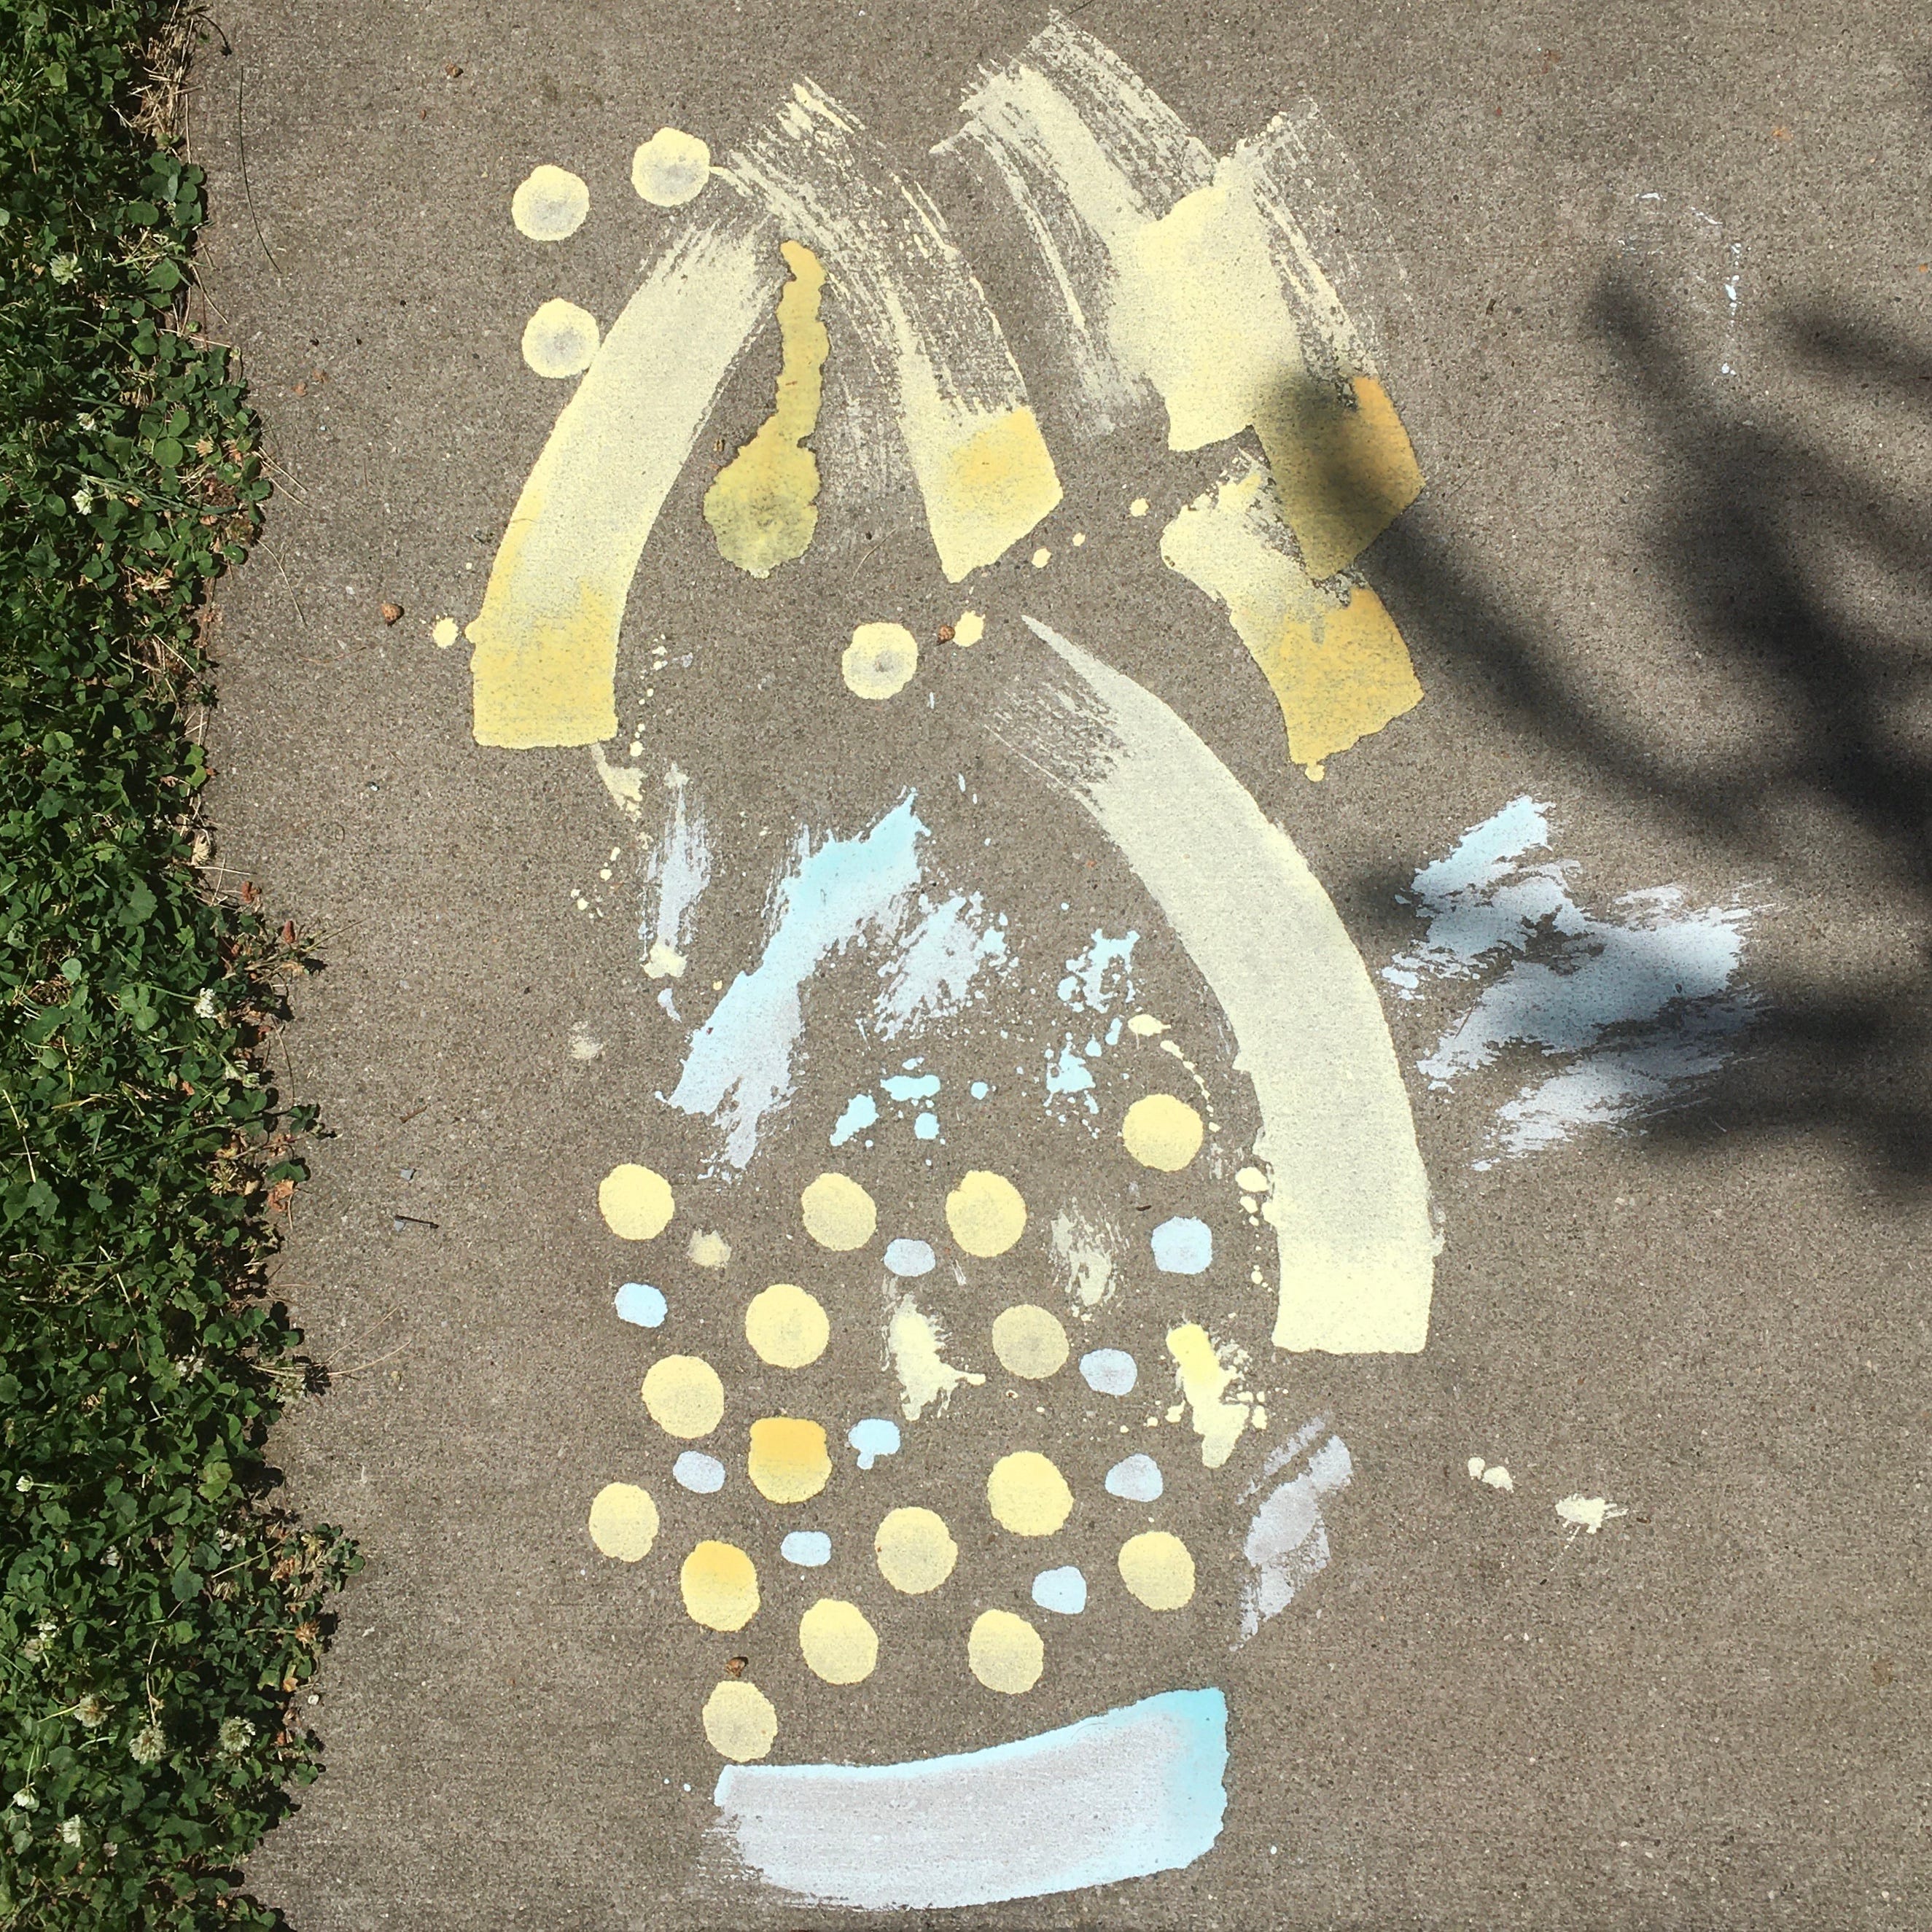
Photos: Chalk-Paint Printmaking
Spruce up your regular chalk drawing routine with a liquid version. Equal parts cornstarch and water, plus a little coloring, creates a fun medium you can dip sponges, mops, bicycle tires — you name it! Patterns, mark-making, big splashes, oh my!
Materials:
1 c. Cornstarch
1 c. Water
Food coloring
Objects to use as tools/stamps
Mix equal parts cornstarch and water. This mixture tends to separate over time, so be sure to keep your mixing tool handy!
Divide mixture up between containers if you want multiple chalk paint colors. If you want large amounts of each color, repeat first step for each color.
Add food coloring- start with a small amount. If you’ll be using a darker pavement, you might want to add more color for vibrancy.
Gather your printing tools! Household items like mops, sponges, and brooms can create great textures. Pick with caution: this mixture washes out well, but it might stain slightly.
Get printing! The water in the mixture will dry in the sun, leaving behind the cornstarch/food coloring. It will wash away with the next rain or with water, so take pictures for visual memories!


Family Days are made possible by PNC with additional support from the Kathy Moses Salem Philanthropic Fund of the Akron Community Foundation, The R.C. Musson and Katharine M. Musson Charitable Foundation and the Robert O. and Annamae Orr Family Foundation.