

Category: How To
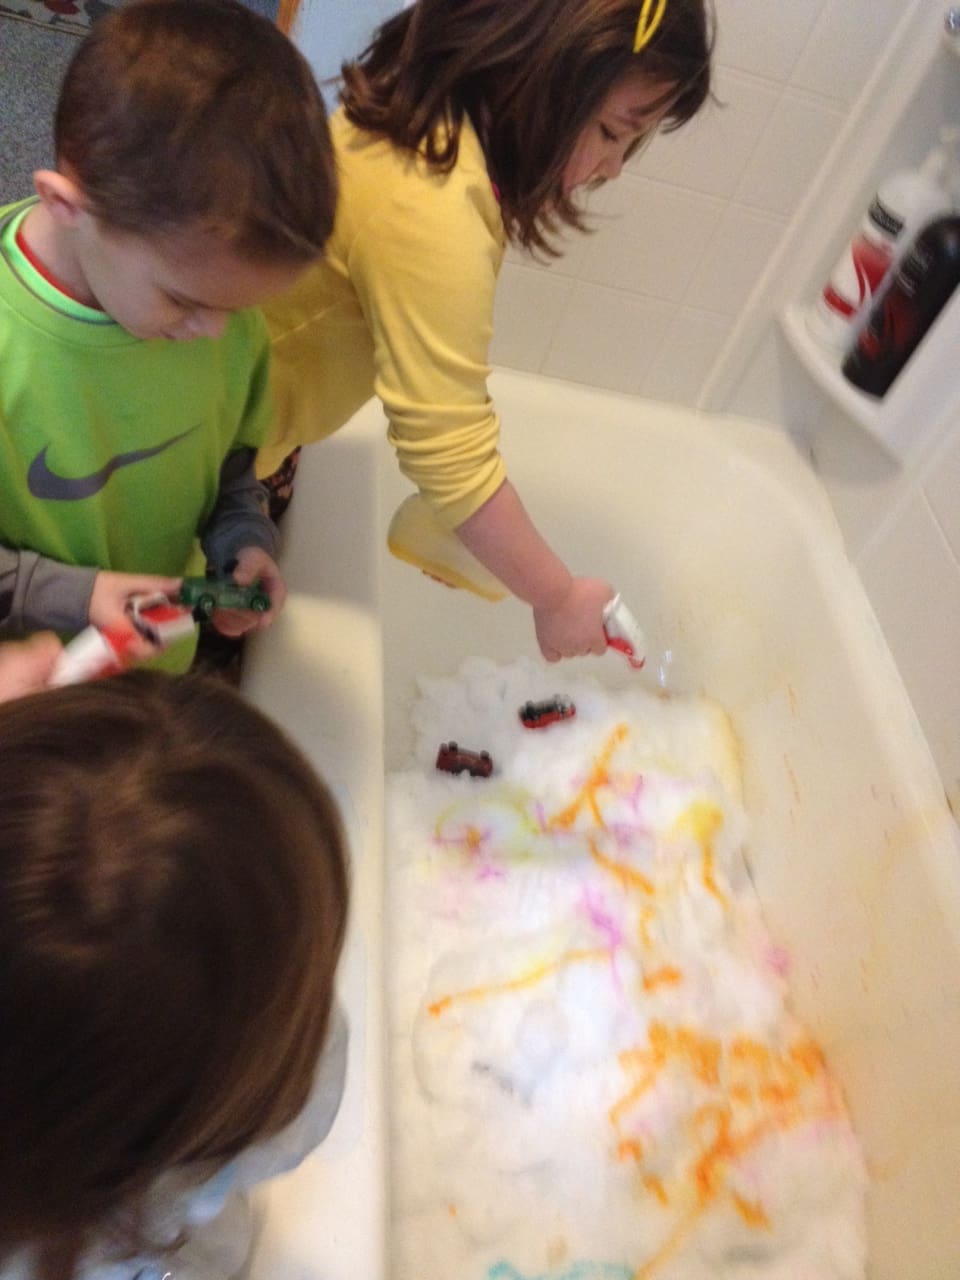
Try This: Bathtub Snow Graffiti
By Amanda Crowe, Assistant Educator Follow-up to “Winter Wonderland” Playdate, Thursday, February 6, 2014 When ice storms block your children from going outside, you can still give them the opportunity to be spontaneous and creative with nature by bringing the outside in. Snow. One of the most elemental, memorable art mediums from your childhood. Recreate those memories for your little ones by making your bathtub the canvas! With easy clean up and minimal effort, your child can be the bathtub graffiti artist of your household.
Surrealist Game: The Exquisite Corpse
By: Alison Caplan, Director of Education The Surrealists didn’t have Apples to Apples or Pictionary in their day, but they did participate in parlor games that helped get their creative juices flowing. In the 1920’s, surrealist artists played a game based on chance and accident called Exquisite Corpse. The goal of the game was to make a kind of collaborative collage using words or drawings. The name Exquisite Corpse is the result of an early game, where the finished sentence read “The exquisite corpse will

How To: Plantable Art
Supplies: Used paper Warm water Bucket Blender Liquid water colors OR colored tissue paper (bleedable) Flower seeds (small) Plastic stitchery canvas Extras: Plastic tracers and/or cookie cutters Directions: 1. Rip and tear pieces of paper, do not use scissors because the rough edges are necessary. 2. Place pieces of paper in a warm bucket of water. Once paper has been in the water for a few minutes, tear pieces into smaller shreds. 3. Add liquid water colors or bleedable tissue paper to the water/paper mixture.
How To: Plastic Bag Fabric
Inspired by Untitled by Alvin Demar Loving Jr. Supplies: Plastic bags (variety of colors, patterns)ScissorsIronsParchment paper Extras: Sewing machineThread Directions: 1. Collect plastic shopping bags. Look for interesting colors, patterns and designs. 2. Cut the plastic bags into shapes. Holding the bag taught makes it easier to cut. 3. Layer the cut pieces onto a larger shape of plastic bags. Create at least 6 layers but the more layers there are, the stronger the fabric will be. 4. Sandwich the layers between pieces of parchment
How To: Plastic Bottle Beads
Supplies:Plastic bottlesScissorsEmbossing heat gunsPermanent markersNeedle nose pliers (insulated) Extras:String or wireBeads Directions:1. Collect and rinse plastic bottles. Try experimenting with different colored plastics.2. Carefully cut the bottles into strips, varying the width of the strips will create different size beads.3. Decorate the strips with permanent markers creating designs, patterns, or even writing a secret message.4. Roll up the plastic strips and hold firmly with the pliers.5. Heat the plastic with the heat gun and watch the plastic shrink and harden. When you are finished, let